Simple Y tensioner
Release status: experimental
| Description | Simple Y-Axis tensioner with easy access from left-after-build materials for reprap Prusa Mendel.
|
| License | |
| Author | |
| Contributors | |
| Based-on | [[]]
|
| Categories | Development
|
| CAD Models | |
| External Link |
Contents
Simple Y axis tensioner with better access
Description
The standard Y belts clamps are under top printing bed with complicated access. Trying to adjust the tension just to build another tensioner leads to this solution.
Advantages
All parts that are usually left after build of Mendel Prusa. Straighten the belt to plate loop and increases angle over idler. Easy access for adjustments.
Disadvantages
Possible slight loss of Y axis resolution due to movement of tensioner on zip ties. Adds some resitance. May be looks not very pretty.
Assembly
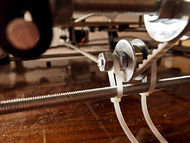
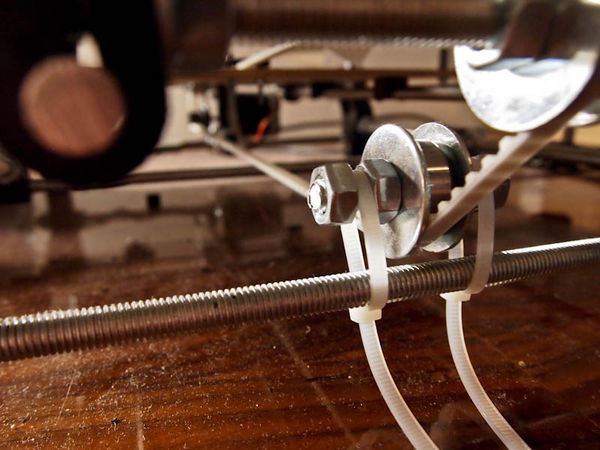
I think the picture is self-descriptive, but anyway:
Parts needed:
- 1 x ~45mm of 8mm screw rod
- 4 x M8 nuts
- 2 x 8mm washers
- 2 x mud washers
- 1 x 802 bearing
- 2 x long nylon zip tie (cable tie)
Screw or put on rod: M8 nut, 2-3mm space, M8 nut, mud washer, 8mm washer, 802 bearing, 8mm washer, mud washer, M8 nut, 2-3mm space, M8 nut. Slightly tight the nuts around bearing. Place on bottom loop of Y belt near idler and tie using zip ties to lower frame screw under the idler. I leave the ends of zip tie free and adjusting the tension as needed.

