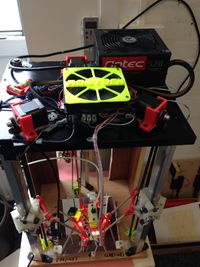
RoStrap
Release status: discarded
| Description | Bootstrapped Delta Printer
|
| License | |
| Author | |
| Contributors | |
| Based-on | |
| Categories | |
| CAD Models | |
| External Link |
Contents
Intro
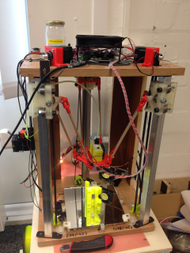
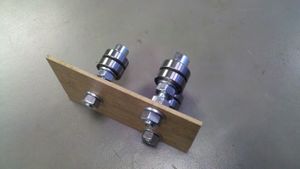
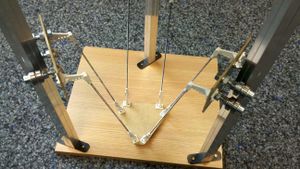
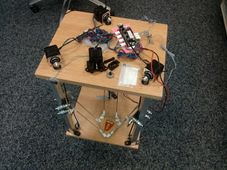
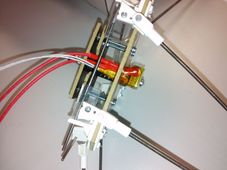
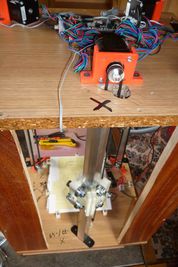
This RepStrap was an experiment: What is the minimum you need to bootstrap yourself a printer good enough to enhance, improve and update itself? I asked myself in 2013. At best it would be built with a cordless drill, but in the end I had to use a drill press form time to time. First thouhts were only to use (alienated) standard parts, wrought material etc., but mercifully eBay had enough more specific items for me. :-)
First step
My first tentative steps included destroying and re-builiding the nozzle.
<videoflash type="vimeo">140472817</videoflash> <videoflash type="vimeo">139869163</videoflash> <videoflash type="vimeo">140847850</videoflash> <videoflash type="vimeo">141580558</videoflash>
Second step
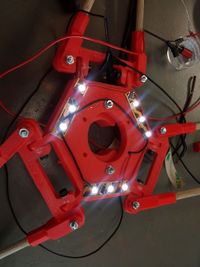
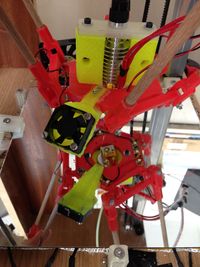
Once print speeds were reasonable, the heated mirror in place and calibration as good as it got the tinkered parts were replaced with printed ones. Many came from the Delta-Pi, some were coded in OpenSCAD.
<videoflash type="vimeo">143415437</videoflash> <videoflash type="vimeo">143415912</videoflash>
Outro
This RepStrap was abandoned in 2015 beacause of problems with the printed joints. Meanwhile a Sumpod Aluminium V2 became available to me, which lead me to the conclusion that carthesian printers are just easier to live with every day.
There is a high chance that I will re-use the "RoStrap" parts in another design however. Steps will then be postet (in rough) at https://burningbecks.wordpress.com first.
Regards
--Burningbecks (talk) 06:59, 25 October 2015 (PDT)
