RepRapPro Multimaterials
Introduction
This page describes the steps you need to take to build the multi-material and multi-colour version of RepRapPro Ltd's version of RepRap Mendel.
For the most part, the construction is the same as for the single-colour machine, and you should follow the instructions for that through to the end and get your machine working with a single colour/extruder before starting the work on this page.
When you have followed the single-colour machine instructions through to the end, then start...
Step 1 - Installing the slave electronics
...here.
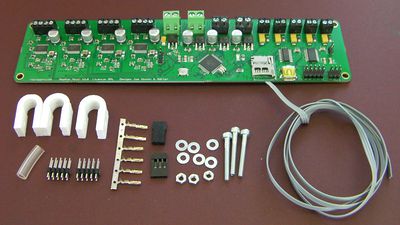
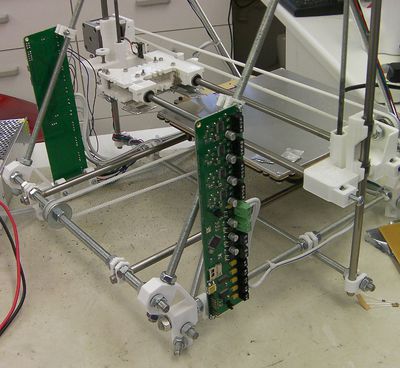
The slave controller is mounted in exactly the same way as the master controller, but on the opposite side of the machine. Mount it with the screw connectors at the back, and the USB connector at the front and the bottom.
Take the insulating tape off the power wires and connect them to the slave controller. Make sure to get the polarity right.

