RepRapPro Multimaterials
Introduction
This page describes the steps you need to take to build the multi-material and multi-colour version of RepRapPro Ltd's version of RepRap Mendel.
For the most part, the construction is the same as for the single-colour machine, and you should follow the instructions for that through to the end before starting the work on this page. You will find that those instructions tell you to skip a section occasionally if you are building the multi-material machine.
When you have followed the single-colour machine instructions through to the end, then start...
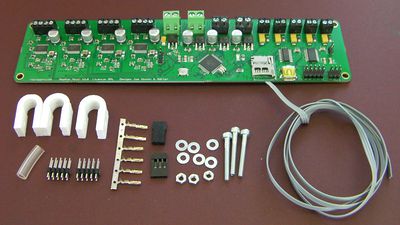
Step 1 - Installing the slave electronics
...here.
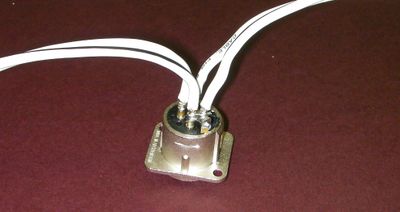
Detach the XLR plug from the frame vertex at the back.
In what follows take great care that there are NO filaments of wire that are sticking out from twisted bundles. These can cause shorts.
Bare the high-current wire ends, and split each end in two equal halves. Twist those halves separately.
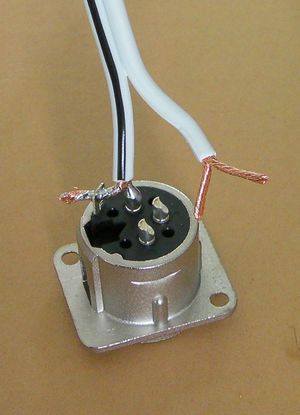
Solder the two from the wire with the black stripe (the Ground - GND wire) to Pin 1 and the plug shell tab.
Solder the two from the plain wire (the +12 volt wire) to Pins 2 and 3.
The pin numbers are embossed on the plug. The picture shows the GND connections made, and the +12 volt connections about to be made. The unsoldered fork in the picture going to Pins 2 and 3 is shown a little long; the bared wires need to be about 2/3 the length shown.
Trim the excess wire from the tab with side cutters.
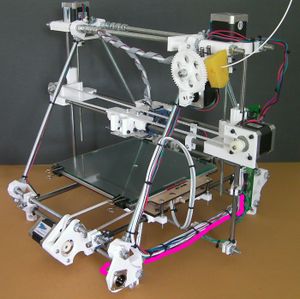
Fit the XLR plug back in the machine. The picture above shows the route of the power wire coloured cerise. Leave a small loop at the XLR plug free for strain relief. Attach it with tape or cable clips to the bottom rung of the triangle, but leave the controller board end free for the moment.
Step 2
