Prusa i3 Rework X and Y axis motions
|
English • العربية • български • català • čeština • Deutsch • Ελληνικά • español • فارسی • français • hrvatski • magyar • italiano • română • 日本語 • 한국어 • lietuvių • Nederlands • norsk • polski • português • русский • Türkçe • українська • 中文(中国大陆) • 中文(台灣) • עברית • azərbaycanca • |
Introduction | Bill of materials | Y-axis assembly | X-axis assembly | Connecting X-axis and Z-axis | Motor assembly
X and Y-axis motions | Heated bed assembly | Extruder assembly | Electronics and wiring | Marlin Firmware
X-axis belt
Needed parts :
- GT2 Belt (900 mm)
- Zip-ties
Step 1
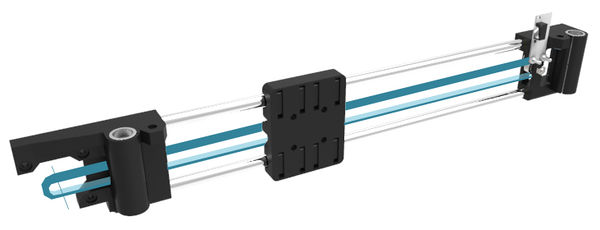
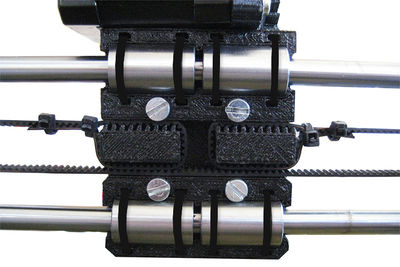
Insert one end of the belt on one side of the X Carriage, do a loop and fix it with two zip-ties. The belt should be at the same level as the slot.
Step 2
Insert the belt either to the X End Idler or to the X End Motor depending to how you placed the belt on the previous step.
Do a loop, temporarily tighten the belt and insert it on the last slot of the X Carriage.
Step 3
Tighten the free end of the belt and fix it with two zip-ties.
This step is difficult so please take the time to make a proper tightening.
Y-axis belt
Needed parts :
- GT2 belt (760 mm)
- Zip-ties
Step 1
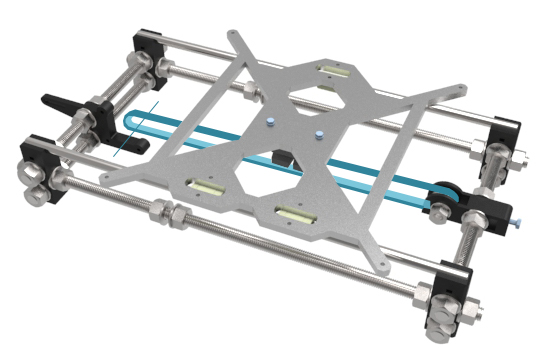
Return your machine and align Y Motor pulley, Y Belt holder and Y Idler bearing. The Y Idler assembly should not be fixed.
Step 2
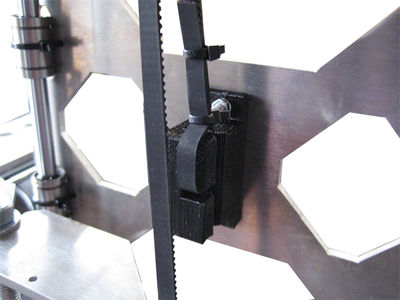
Insert one end of the belt on one side of the Y Belt Holder, do a loop and fix it with two zip-ties.
The belt should be at the same level as the slot.
Step 3
Insert the belt either to the Y Idler or to the Y Motor depending to how you placed the belt on the previous step.
Do a loop, temporarily tighten the belt and insert it on the last slot of the Y Belt Holder.
Step 4
Move your Y-axis near the motor. Adjust Y Motor placement to align the belt properly. This helps to avoid some friction of the belt (I spent 45 minutes trying to make step 4 and step 5 perfect and you just aren't going to get it perfect so do the best you can to keep the belt from hitting the sides when you move the plate along the Y-Axis). Make sure that both bolt couples are aligned. Tighten the nuts with hands.
Step 5
Move your Y-axis at the opposite and do the same operation. Repeat the step 4 and 5 until your Y belt is properly aligned.
Step 6
When the belt is aligned, tighten the free end of the belt, and fix it with two zip-ties. Slightly tighten the belt, and cut both ends if necessary.
Step 7
An M4x20 mm screw located on the Y Idler allows you to tighten the belt properly, but be careful because it is not necessary to strongly tighten the belt as it has to be a little loose.


