PonokoZMotorAssembly
Making the Ponoko RepRap Z Motor Assembly
UNDER CONSTRUCTION
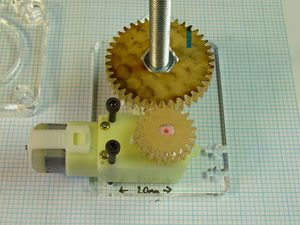
There are two variations on the Z Motor Assembly, the conventional one using a NEMA23 stepper motor and an experimental version using a gear motor and opto interrupter. These instructions will concentrate on using the stepper motor variant.
For those of you now interested, here's a quick mockup of the experimental Z Axis drive:
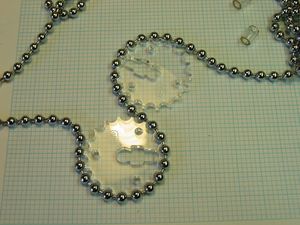
You will notice that your kit came with two types of gear for the ball-chain. One is marked with an "a", the other (remarkably) with a "b". Lay your 4.5mm ball-chain along the teeth of the gears and see which fits best. This is best done in the shop before you buy it.
What we want to see is the chain wrapping around more than a quarter of the gear's circumference without tending to leave the notches.
Only use all "a" or all "b" gears in your Z Axis. Do not mix & match.
Do not throw the other gear away. We'll use it later. Do not throw the little crescent of plastic in the gear's centre away either if you are using an NMEA 17 motor for the Y Axis.
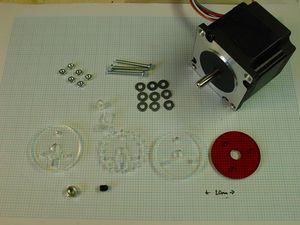
Start by locating the components for the Z Motor Coupling:
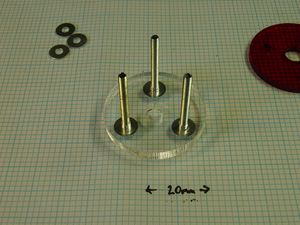
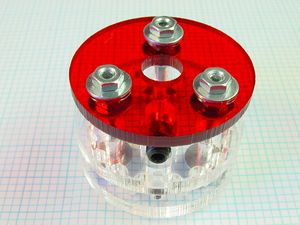
- Starting 3 screws into Z Coupling:
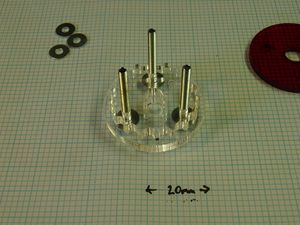
- Gear fitted to Z Coupling:
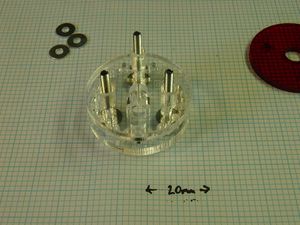
- Spacers fitted to Z Coupling:
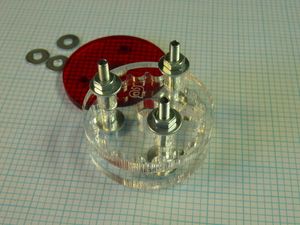
- First set of nuts fitted to Z Coupling:
- M8 hole in Z Coupling:
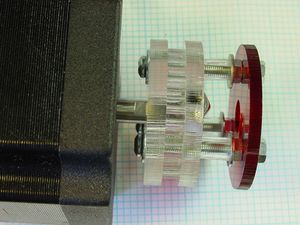
- Fitting Coupling to Z Motor shaft:
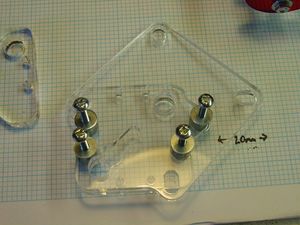
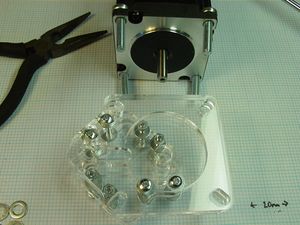
- Top layer of Z Motor Bracket:
- Adding 8mm section of Z Motor Bracket:
- Fitting Spacer and Z Motor:
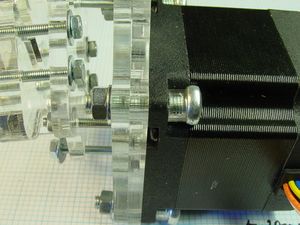
- Optional spacers on Z Motor bolts.:
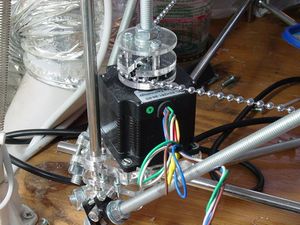
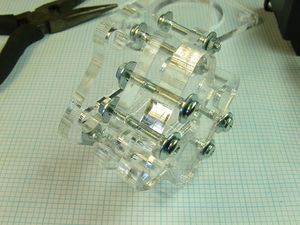
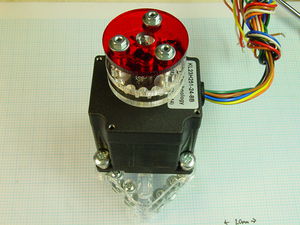
- Completed Z Motor Corner Assembly:
Now you can move on to assembling the base of the RepRap frame. -- Main.VikOlliver - 08 Nov 2008
