PonokoRepRapXMotorAssembly
Ponoko RepRap X Motor Assembly
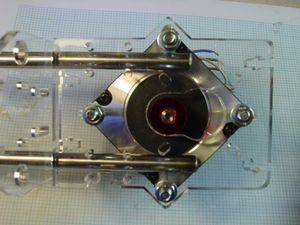
The X Motor assembly can be fitted with either a NEMA17 or NEMA23 stepper motor. With the larger NEMA23 design, the motor body itself is used to trap the X Carriage guide rails to the X Motor Bracket. With the NEMA17, the motor is screwed directly to its bracket and acrylic clamps are used to hold the guide rails in place.
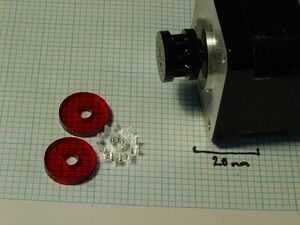
First, locate the size of rims and gear that (a) fits the shaft on your stepper motor, and (b) fits the type of ball chain that you have purchased. If the gear or rim does not quite fit the spindle of the motor, file away on the interior flat surface with a small flat file until it just fits. If you have no flat on your stepper motor, clamp it in the jaws of a vice and put one there with a 2nd cut file.
Once you have something that fits on, scrape the motor shaft with the file a bit to give it a good key, and epoxy the rim/gear/rim sandwich into place right at the end of the shaft. Make sure all is square before the epoxy sets.
Try not to fill the teeth of the gear with epoxy. If you do, try not to wipe it out with a solvent-soaked rag that dissolves the acrylic...
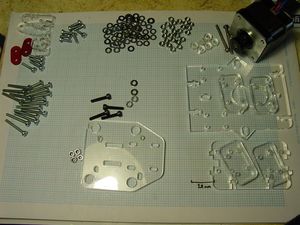
Turn this:
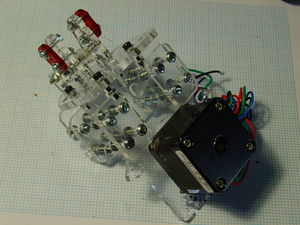
Into this:
Now you can complete the X Axis Assembly.
Back to the "Ponoko" RepRap index page
-- Main.VikOlliver - 21 Oct 2008
- Method of trapping guide rails against NEMA23 motors:


