PonokoBedChainFitting
Ponoko RepRap - Fitting The Bed and Z Chain
| [PonokoRepRap Main Ponoko Page] | ||
| Prev Step | Next Step | |
| BOM for this page |
UNDER CONSTRUCTION
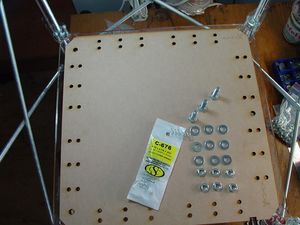
With the outer framework in place, we can now add the Deposition bed. This comes in two pieces; a Bed Frame and the Adjustable Bed. These are held together under tension and can be adjusted so that the actual deposition surface is kept parallel to the Extruder Nozzle. The lasercut Adjustable Bed can be made of MDF, 8mm clear acrylic - which really needs covering with hardboard - or cardboard. Do not deposit on the cardboard bed if you have one; it is intended for use as a template to cut your own Adjustable Bed with.
Apologies to "early adopters," as your Bed Frame may be a tight fit - the jig used to space the frame was a little short initially. You can compensate by using M3 25mm machine screws instead of M5 ones as long as you have big enough washers to cover the mounting holes.
Do not fit the Z Opto Flag yet. It is easily broken and we'll wait until it is necessary.
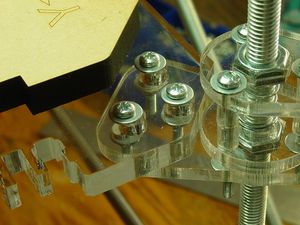
The deposition Bed is lasercut from 8mm MDF (medium density fiberboard). It's fairly strong, has no wood grain, doesn't warm, and accepts deposition well. The Frame is lasercut from 8mm acrylic and has a hole in the center, which space is used for parts. The bed is mounted on <part>three M8 25mm screw</part>s in three M8 holes arranged in a triangle. Orient the Bed on the Frame such that you can read the laser-etched "RepRap" and "Y-axis" at the same time. There is a notch in the side of the Bed which lines up with captive nut holes in the Frame. The three M8 holes should now be lined up.
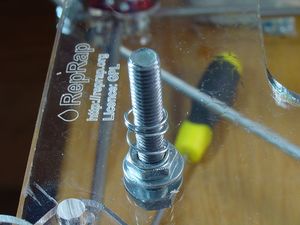
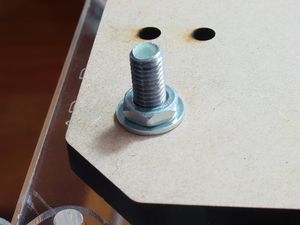
Put a <part p="three M8">washer</part> on each screw, insert it through the M8 hole, and fix it with a <part p="three M8">washer</part> and <part p="three M8">nut</part>. We want the deposition bed to have a little bit of "give" so that crashing the extruder into the bed doesn't break either, so the bed is held up with a <part p="three">8mm i/d compression spring approximately 16mm long</part>.
Place the deposition bed on the frame over the bolts. Tie it down with <part p="three M8">washer</part> and <part p="three M8">nut</part>s.
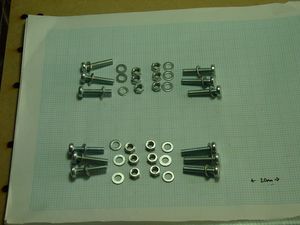
You'll need these parts to anchor the frame to the Z Axis.
Place the bed on the Z axis mounts. <repeat count="4">Put a <part p="three M3">washer</part>s on <part>three M3 25mm screw</part>s and insert them through the bed into the Z axis mounts. Fix with <part p="three M3">washer</part>s and <part p="three M3">nut</part>s. Repeat for the other three corners. </repeat>
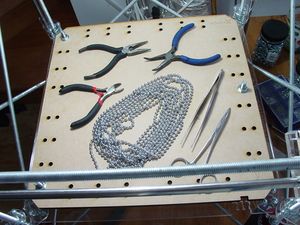
- Tools to grip and cut <part>2200mm of 4.5mm ball chain</part> with:
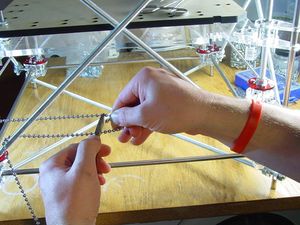
- Locating where to cut chain:
- Making the chain slack:
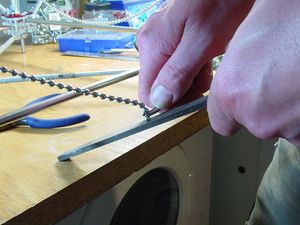
- Filing the face flat - do not saw it.:
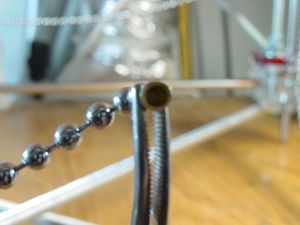
- Chain face filed flat, ready to tin:
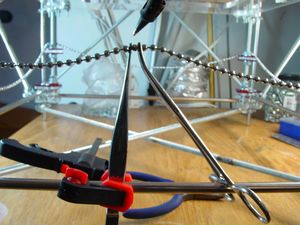
- One way of holding chain together for soldering:
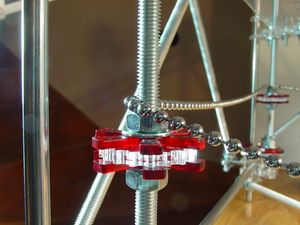
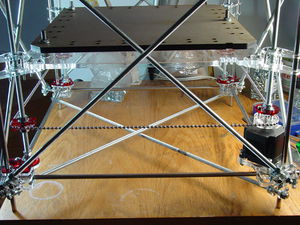
- Finished tensioned chain.:
| [PonokoRepRap Main Ponoko Page] | ||
| Prev Step | Next Step |
