Plotting
Release status: Experimental
| Description | Plotting drawings on flat surfaces with RepRap, like plotting on paper or printed circuit boards.
|
| License | unknown
|
| Author | |
| Contributors | |
| Based-on | |
| Categories | |
| CAD Models | |
| External Link |
Introduction
By plotting using one RepRap 3D printer like Mendel, one can draw designs on a flat material like paper or copper printed circuit boards (PCB). By plotting on copper, RepRap empower us to make our own PCBs.
<videoflash type="vimeo">13521005|640|480</videoflash>
What is needed
- draw the electronic schematic and after the PCB on any program like KiCad. Export the Gerber files;
- use a software to convert the Gerber files to GCode files that RepRap understands (see next topics), in this case for plotting;
- install one pen on RepRap pen holder (see next topics) and start plotting.
Software tools
There are a few approaches (1, 2, 3) but Skeinforge seems to be the most advanced tool to generate the plot paths.
Using Skeinforge
Skeinforge don't open Gerber files, but open the 3D STL files. If we create a 3D object from the Gerber files and export to STL file, we will be able to use Skeinforge.
To create a 3D object from Gerber file, we need the following Free Software tools:
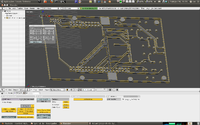
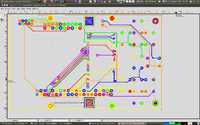
- Gerbv - to view Gerber file and export as PNG file
- Inkscape - to import PNG file, create paths and export as SVG file
- Blender - to import SVG file, create 3D mesh and export STL file
- Skeinforge - to open the STL file, generate the plot paths, simulate the plotting and export GCode file
- EMC2 (optional) - to open the GCode file and simulate the plotting
- RepRap host, RepSnapper, etc - programs to open the GCode file and controlling your RepRap, doing the plotting.
TODO: Taking screenshots of each step and explain the steps.
3rd: using Blender
4rd: using Skeinforge
5rd: (optional) using EMC2
Pen
Permanent ink pens
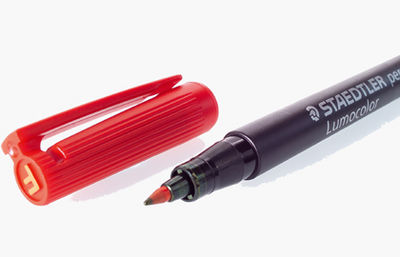
Fine-Tip Red Color Staedtler Lumocolor Permanent Marker 318-2
The Fine-Tip Red Color Staedtler Lumocolor Permanent Marker 318-2 is the best for this purpose.
One pen that works well on most etchants is the staedtler lumocolor permanent marker. The red color is best (the ink is also used in the marker for chemical lab glassware).
It only resists strong etchants without fail if the pen is fairly fresh, so it may be best to get the refill station so you always have a "new" pen at low cost. - via Homebrew_PCBs
Pigment ink pens
- Staedtler pigment liner of 0.05mm, 0.1mm, 0.2mm, etc can be bought on shops like Staples.
This pigment ink should resist to the etchant just like the people that are printing PCBs with Epson printers which have his DureBrite pigment ink that resists to etch acid.
Workflow:
- plot the design on PCB;
- put PCB on oven for a few minutes to dry the ink very well;
- etch the PCB.
Pen holder
See Category:Toolheads.
For developers
If you are looking on information to know and understand about RS274X (Gerber) files, see this page.
