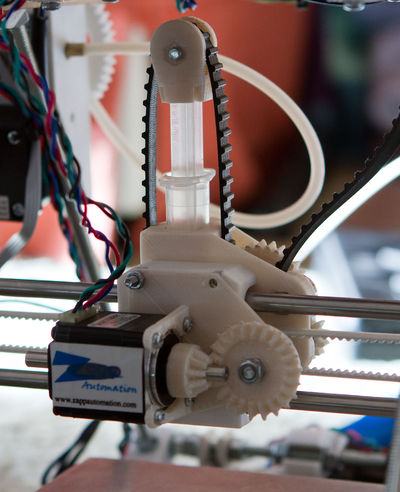
Mattroberts' Huxley Paste Extruder
Everything here is new, but is influenced by RichRap's Universal Paste Extruder. This design will work on a RepRapPro Huxley.
What you need
- 1x each of the RP components
- 1x NEMA12 Motor (I used a SY28STH32-0674B from zapp automation)
- 1x XL timing belt
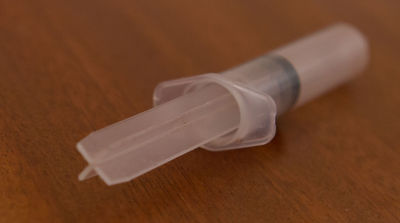
- 5ml syringe
- 5x 624 bearings
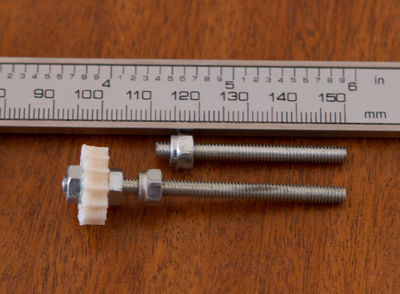
- 1x M4x36mm studding (a little longer will not cause problems)
- 1x M4x58mm studding (a little longer will not cause problems)
- 1x M4x16mm bolt (studding and a nyloc would also work)
- 2x M4 nyloc nuts (M4 nuts and super glue will work)
- 7x M4 nuts
- 3x M4 washers
- 2x M3x8mm bolts (longer will cause problems, but can be cut from 12mm bolts)
- 2x M3x12mm bolts (longer will not cause problems)
- 2x M3x25mm bolts
- 6x M3 nuts
- 4x M2.5x6mm screws
How to assemble
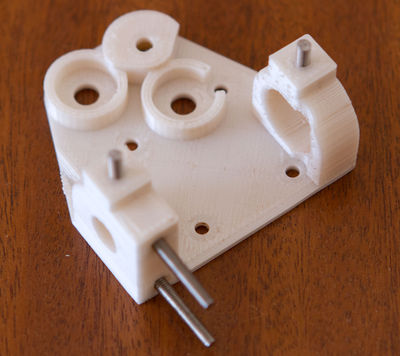
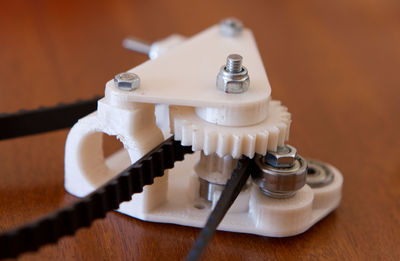
Add the 4 short M3 bolts to the syringe_mount. The 12mm bolts are used for the belt clamp, the 8mm bolts to attach the bearing_mount.
This photo shows 20mm bolts used for the belt clamp, so it is even easier to see what goes where.
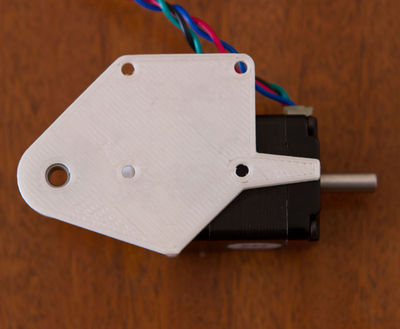
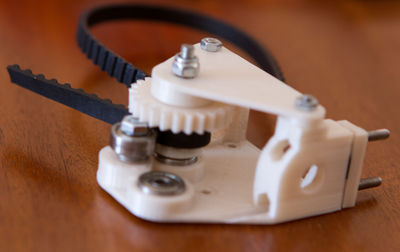
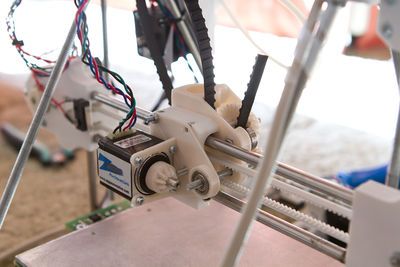
Attach the motor to motor_mount using the M2.5 screws. Make sure that the flag is as long as your motor, if it isn't: the X endstop on your printer will not trigger.
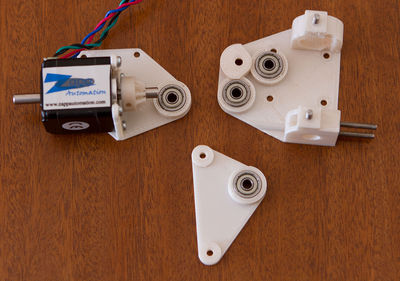
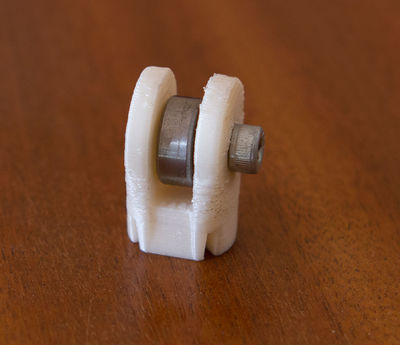
Add the 4x bearings to the various mounts. Also add gear0 to the motor shaft.
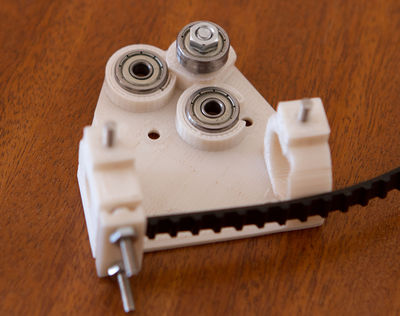
Use belt_clamp and two M3 nuts to clamp one end of the belt. Also use the M4 bolt, washers and a nut to attach the final bearing. From bottom to top the order is: bolthead, syringe_mount, 3x washer, bearing, nut.
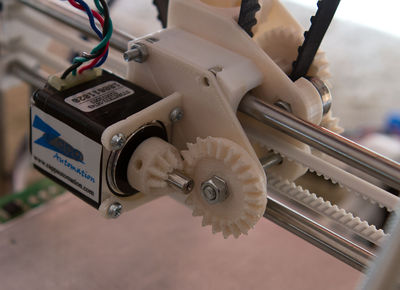
Put the two M4 nyloc nuts in the correct place on the M4 studding. Also attach gear2 to the longer studding using three nuts. From left to right the order is: nut, gear, nut-in-gear, nut, space, nyloc. Make sure that nut-in-gear and nut are locked.
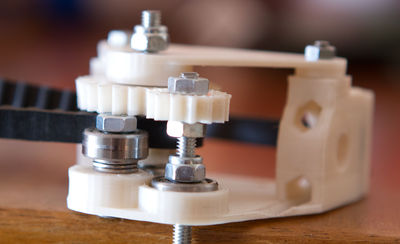
Attach bearing_mount to syringe_mount using two M3 nuts. Put gear3 in the correct place, make sure the belt is routed correctly and use the shorter piece of studding to hold things in place. The nyloc should allow the other end of the studding to protrude by a very small amount.
Put the longer piece of studding (with attached gear) in the correct place. Check that the gears mesh, if they do not you need to move the nyloc.
