Keypad
Release status: working
| Description | Upgrade your printer with a keypad
|
| License | GPL
|
| Author | |
| Contributors | |
| Based-on | |
| Categories | |
| CAD Models | |
| External Link |
Description
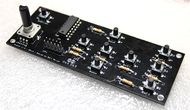
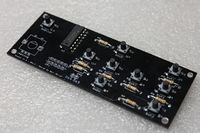
The keypad is designed by Bart Meijer of Reprapworld.com. It's an advanced keypad that you can hook up to your printer. You do want to have a LCD to go along with this keypad, you can see instruction for that here: http://reprap.org/wiki/RAMPS_LCD
Features:
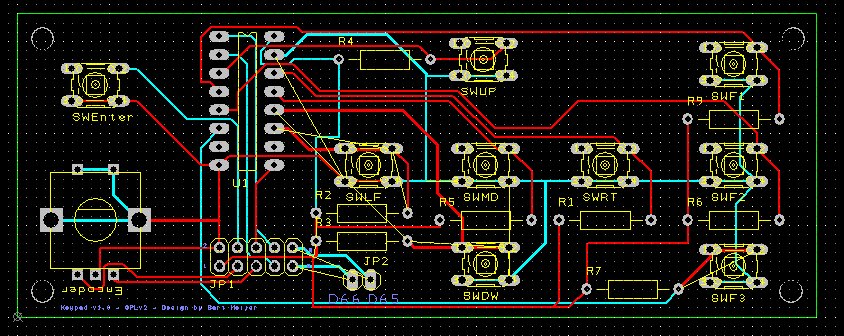
- 9-buttons to control your printer: Left, right, up, down, mid, 3 function keys ( F1,F2,F3 ), enter
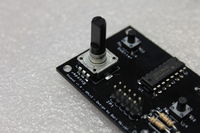
- a rotary encoder
- D66 and D65 are broken out
- Hooks up easily to your RAMPS AUX-2 port
- 41 x 109mm board
- Cool black design
- screw holes to mount the board
Where to get it
How to build it
Requirements:
- 1x Keypad PCB
- 9x Tactile switch
- 8x 10K resistor
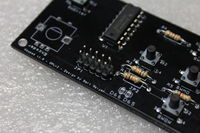
- 1x 2x5 Header
- Shift register CD74HCT
- 1x Rotary Encoder
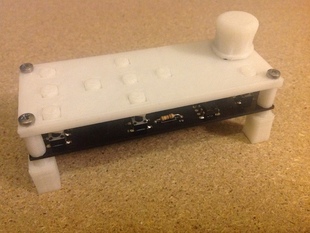
Daniel Åkesson did make a casing for the keypad [here].
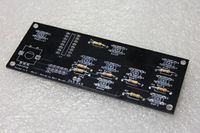
1. Solder the 10K resistors, direction doesn't matter.
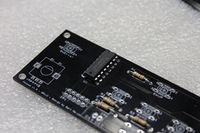
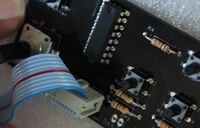
2. Solder the Shift register, make sure the orientation is as on the picture.
2. Solder the tactile switches, direction doesn't matter.
4. Solder the 2x5 Header on JP1, direction doesn't matter.
6. Solder the rotary encoder, will fit in only one direction.
How to use it
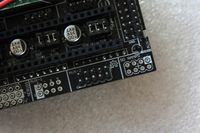
Hook it up to your RAMPS AUX-2 port. Configure your firmware to use the keypad. Currently no firmware will fully support it, the normal Marlin firmware will partially support it however. Also a development was started to fully support it in Marlin: File:Marlin.zip, but this needs a lot of work.
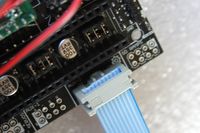
1. If your RAMPS board was produced without, you will need to solder a 2x5 header on the AUX-2 port of the RAMPS.
2. Create a cable and put it on the keypad
3. Put the other end to the RAMPS board. Make sure to put it on correctly, pin 1 on the AUX-2 is the same as pin 1 on the JP1 of the keypad. So if you align the RAMPS and keypad, you should have a straight cable.
4. Get the encoder and enter key working in Marlin
a. Adjust configuration.h
Uncomment line 228:
#define ULTRA_LCD //general lcd support, also 16x2
Uncomment line 232:
#define ULTIPANEL //the ultipanel as on thingiverse
Uncomment line 242:
#define NEWPANEL //enable this if you have a click-encoder panel
b. Edit pins.h
For MOTHERBOARD == 33 (RAMPS) locate the following line:
   #define BTN_EN1 37
   #define BTN_EN2 35
   #define BTN_ENC 31  //the click
Update them to:
   #define BTN_EN1 64
   #define BTN_EN2 59
   #define BTN_ENC 63 //the click
That should enable you to use the menu system in Marlin with the encoder and enter button.
Resources
DesignSpark PCB File:Keypad.pcb
DesignSpark Schematic File:Keypad.sch
Schematic (PDF) File:Schematic.pdf
